
Cast Iron Skillet Grain and Gluten Free Pizza
http://thedomesticman.com/2012/12/13/cast-iron-skillet-grain-and-gluten-free-pizza/
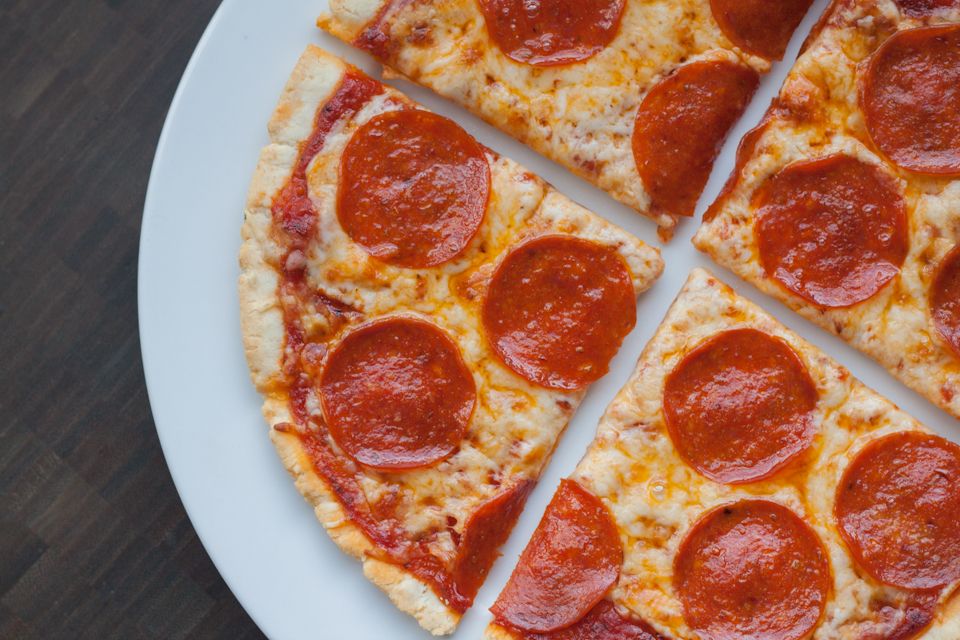

Like most residents of planet Earth, I’m pizza crazy. I’d like to say that my love affair started with those pesky Ninja Turtles, but I have a feeling that I was addicted well before the heroes in a half shell became popular. When adopting Paleo, I was probably worried about a lack of pizza the most, and after re-introducing dairy I tried all sorts of things, from frozen GF crusts to eggplant pizzas. Finally, I hunkered down and developed a gluten and grain free pizza crust of my own, and after several failed attempts, I’m happy to say that you will love this pizza.
Do I really need to provide a food history for pizza? Okay, since you asked so nicely. Pizza is a food first traced to Ancient Greece, when they took bread and covered it with oil and cheese (this is also the base for Pita bread). Italy is credited for adding tomatoes to pizza following their introduction from the New World in the 15th and 16th centuries. Interestingly, the combination of tomatoes and cheese wasn’t popular for hundreds of years, until the famous Pizza Margherita (tomatoes, cheese, and basil) incident – wherein the combination was served to Queen Margherita in 1889 to represent the Italian flag.
Pizzerias existed in the United States at the turn of the century, but it was only popular with Italian immigrants. Soldiers returning from the European campaign of World War II raved about pizza, and it became the sensation it is now almost overnight.
Don’t forget that I am giving away a SIGNED copy of the new Perfect Health Diet book this week!
You’ll Need: (makes two pizzas)
for the crust -
1 1/2 cups tapioca starch
1/4 cup each heavy cream and water (or 1/2 cup milk instead of cream & water)
1/2 tsp salt
1 egg, beaten
1/4 tsp dried oregano
pinch of white pepper
3/4 cup parmesan cheese (or any hard cheese), grated
for the toppings -
1/2 cup pizza sauce
3/4 cup mozzarella or other soft cheese
toppings
In a saucepan, combine the cream, water, butter, and salt and bring to a simmer on med/low heat. You want to get it to the point that it’s starting to bubble, but not boiling. In a large bowl, add the tapioca starch. When the cream/water mixture is heated, add it to the starch and stir it all together. It will start to clump together, which is fine. Let the mixture cool for five minutes. As it cools, preheat your oven to 500 degrees.
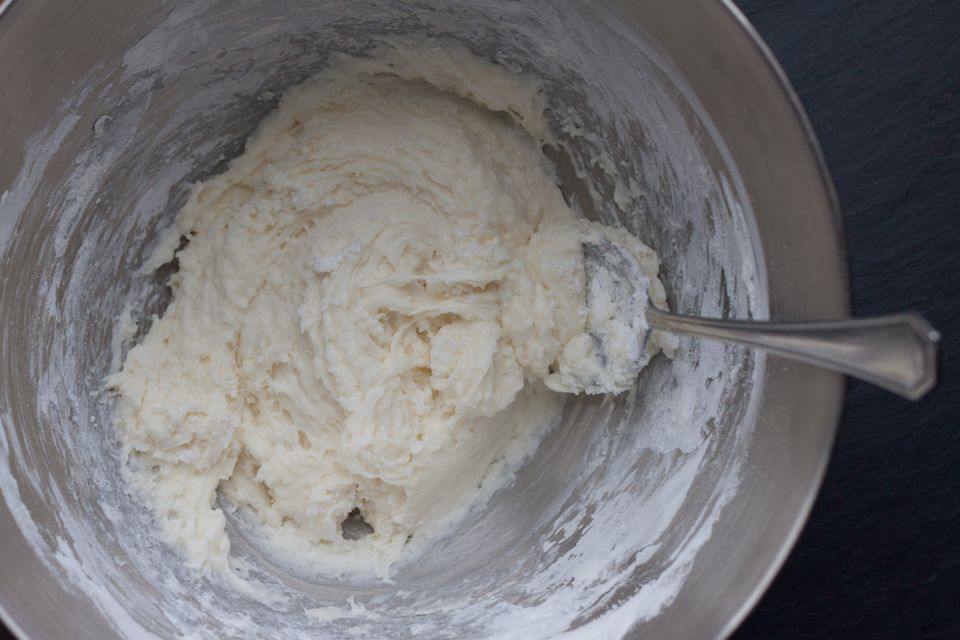
Add the beaten egg to the mixture, and knead together with your hands. Add the cheese, white pepper, and oregano, and mix together until it’s dough-like. This is enough dough for two pizzas.
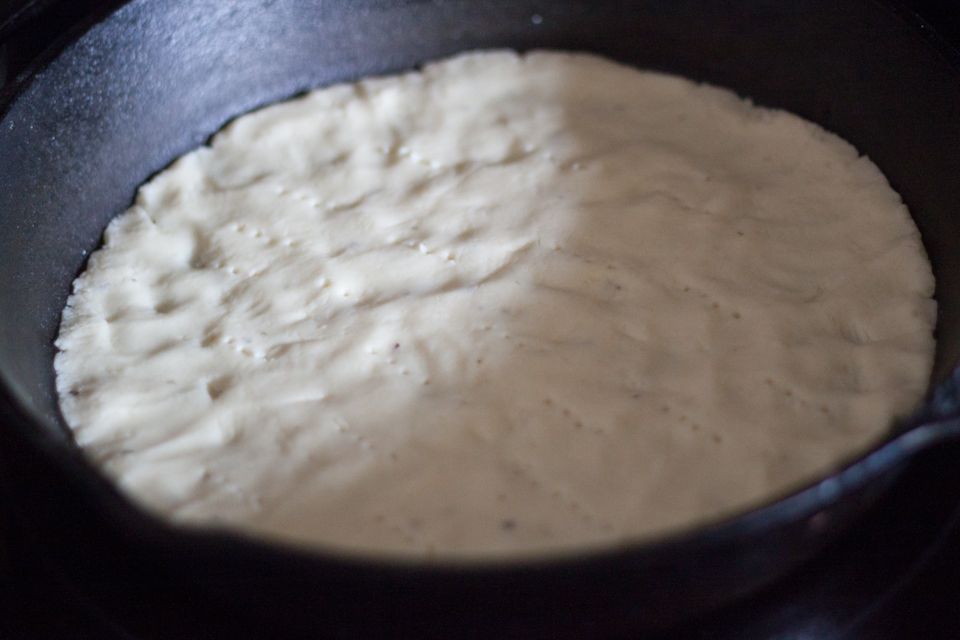
Split the dough in half, then stretch it out into the thinnest frisbee possible. It will likely tear if you stretch it too far, so just pull it as far as you can. Put the dough in a cast iron skillet, spreading to the edges of the skillet with your fingers. Try to get it as thin as possible. With a fork, poke some holes through the dough to let air pass through.
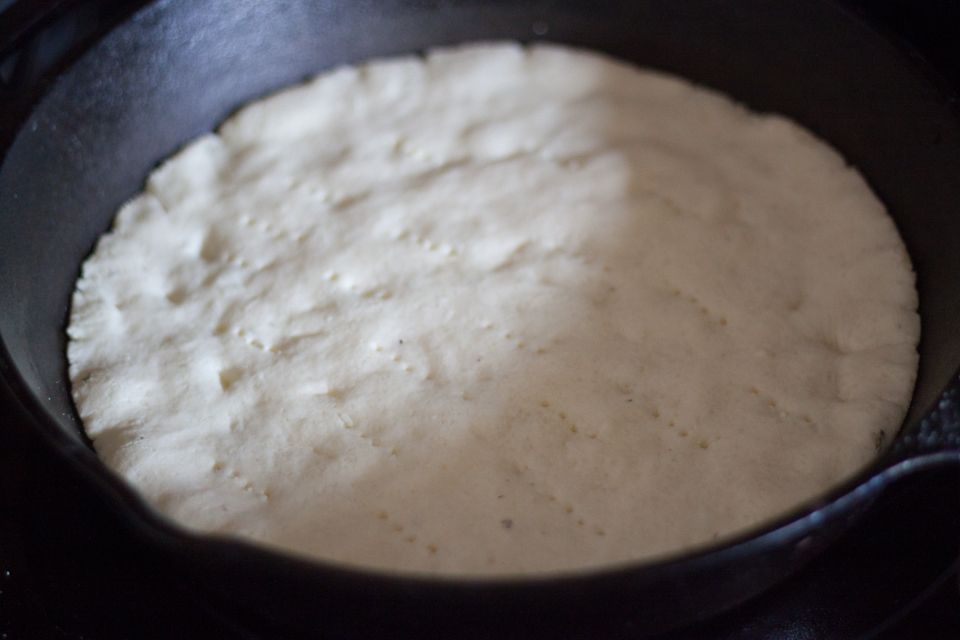
Bake in the middle of your oven for six minutes, then take it out and put it on your stove (keep the oven on!). The dough may bubble up a little while cooking, which is fine – it’ll go back down once you take it out of the oven. It’s hard to tell in this picture, but the dough will have taken on a more bread-like consistency at this point. This step is important because it gives the dough time to cook through without burning the toppings.
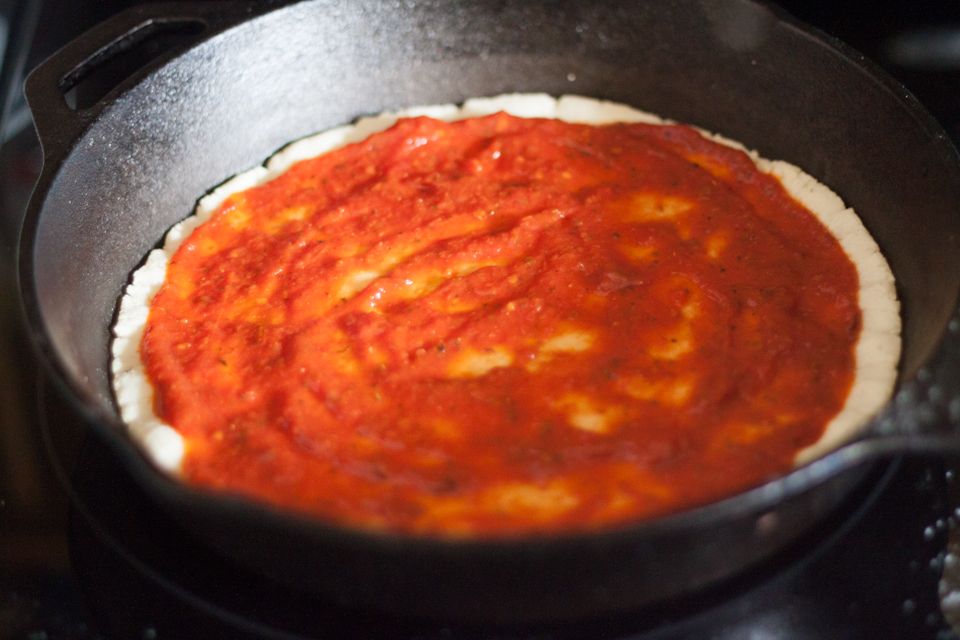
Add the 1/4 cup of sauce. Might I suggest a blended version of my homemade Superior Spaghetti Sauce?
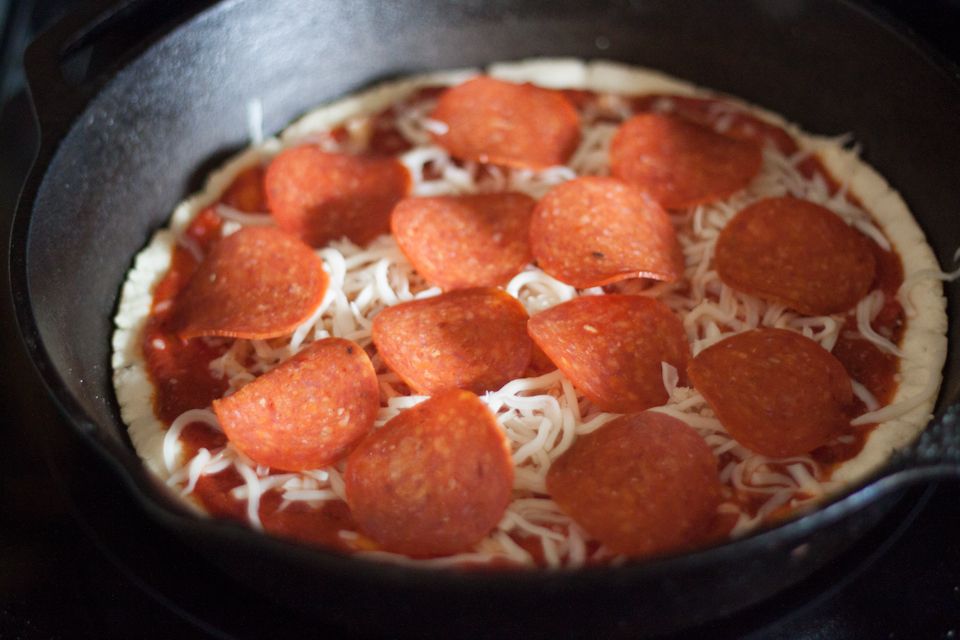
Add the toppings, whatever you’d like. You can go with a standard topping fare like in the picture above, or try something more unique like a cheese-less pizza (often referred to as Pizza Marinara) or another favorite – Pizza Bianca, which is basically just dough, olive oil, salt, and rosemary, a popular style of pizza in Rome.
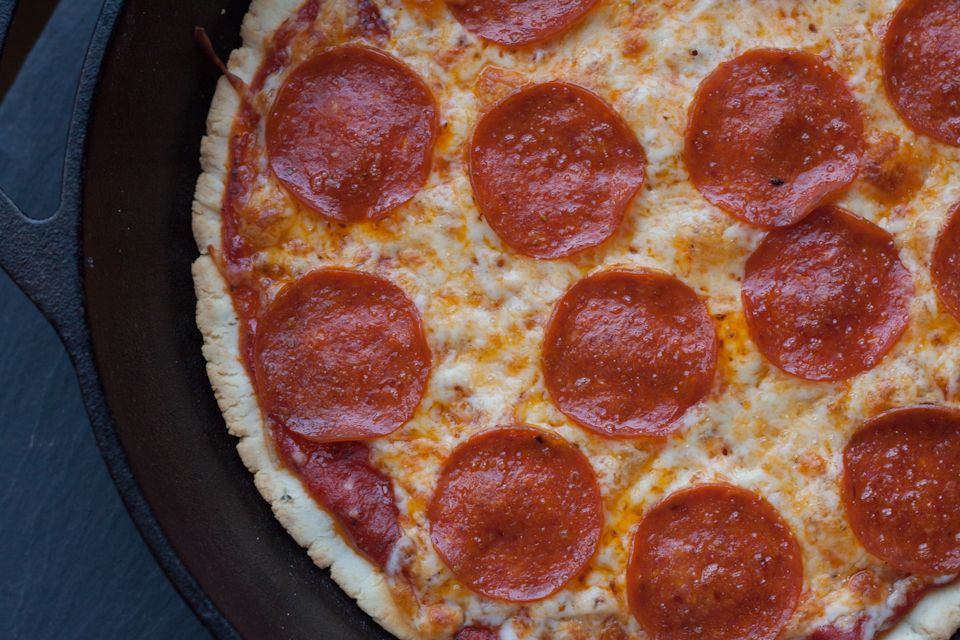
Throw it back in the oven and cook for another 8-10 minutes, until the cheese starts to brown. For extra crispy toppings, broil it for the last minute or two of cooking.


0 comments:
Post a Comment